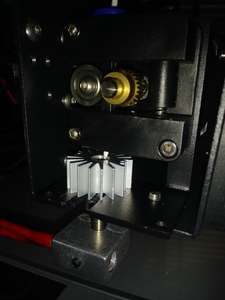
I thought that one (the one adjusted to 7cm) was the Z-Axiz. Didn't think the X-Axis had any adjustment to it!
The X-Axis switch is what the extruder hits when it returns to the left side of the horizontal rails the extruder sits on, isn't it?
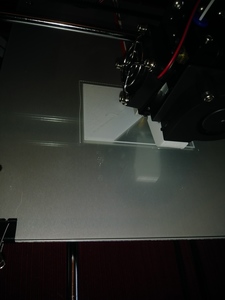
My reference to -25 was displayed on the LCD screen. Maybe that is OK if it then moves over the glass when it begins to print.
I had one of the thumb nuts come off the screw when I was first trying to level the bed. It is like the screws need to be longer. I remember doing my inventory and finding one of the screws was about 5mm shorter than the parts list said it should be. Can't remember if it was the ones for the bed or not. I may try finding some longer ones.
SteveG
I thought that one (the one adjusted to 7cm) was the Z-Axiz.
it might be i get them confused. the one im talking about is the one in the pic
also i think you may need to tighen it down really good mine has seemed to slip and now its off set again (just tried another auto home this am)
SteveG
How'd you finally get it to load the PLA?
i had to take the fan off and use a little allen wrench to guild it in as it was feeding it in i know its sorta ghetto but it got the job done
Did it print what you were trying to print?
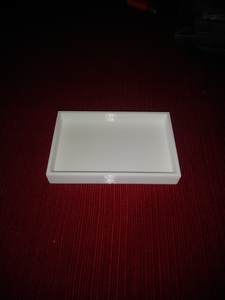
its still printing but i used their test pattern for a box so far it looks right but its been an hour and its still printing the bottom layer but ill keep you informed
good temperature for PLA is no less than 165C. Preferably closer to 180C
i just did my test print and it auto set it too 200C and i do think that was a bit hot so im going to mess around with it and try to set it at 180C it came out with very defined looking layers but ive been reading thats just a PLA thing
I find with PLA, a little on the hotter side makes for stronger prints with better layer adhesion and the part is less likely to soften when it gets hot in use (hit or miss here). Also, if I am going to print at 80mm a sec or so (if the part allows it) I will bump up the temp to get better flow. Now if the part has a lot of little details, I will print at a lower temp and slower.
Oh, one more thing then I will shut up. I print my first layer a 10 degrees higher in the extruder and bed. After that, then 60 for the bed and whatever I have for the extruder base temp.
Example:
I am going to print at 198c on the extruder and 60c on the bed. The first layer will print at 208c/70c respectively. On the second layer, it changes to 198c/60c. It's been a couple of years since I used Cura, but it used to have plugin for this, though it may just be a setting now?
It's been a couple of years since I used Cura,
what it this cura ive only printed use the sd card ive heard there are programs for window it this is this one of those and is it worth it to hook my printer up to a computer or are the prints the same using an sd card.
what are the benifits?
The video doesn't show an excellent picture of your motor/extruder, so I can't tell if this will work for you like it did for me. On one printer, I put magnets on my fan to make removing and replacing it easier, and on the other I put a hinge and magnets. Not sure which idea I like better, so I kept both
Make sure that your throat doesn't touch the gear mechanism when installing it
Make sure that the nozzle is screwed ALL THE WAY UP so it touches the throat inside the heatblock or it will leak. And believe me, you don't want it to leak, cuz it's a huge mess
Here's a link to my test STL files
https://github.com/Spyder19/3D-STL
My advice is to get the one called 180.stl, and print it at 180C, and see how it prints. Then try the 183, and print that at 183C and see how it prints... ETC and see how each one comes out to help you decide what is the best temperature for each type of filament, which, in this case is PLA
Don't bother with the boat (benchy) until you've got the temp figured out
Once you find the right temperature, you'll want to play with the speed and then layer height. Don't make too many changes at once. Do one at a time so you can see what they do
What slicer are you using ?
What slicer are you using ?
im a total noob today is the 1st time ive ever seen a 3d print IRL working the only print ive done was a preloaded test file
i will definitely test this out when i get more filament i found out that stuff goes quicker then i thought
Make sure that the nozzle is screwed ALL THE WAY UP
thanks for that advice it should help with it loading the filament?
I put magnets on my fan to make removing
love this im heading to ebay to buy some neodymium after this


