
Notifications
Clear all

Topic starter
2019-10-29 7:23 am
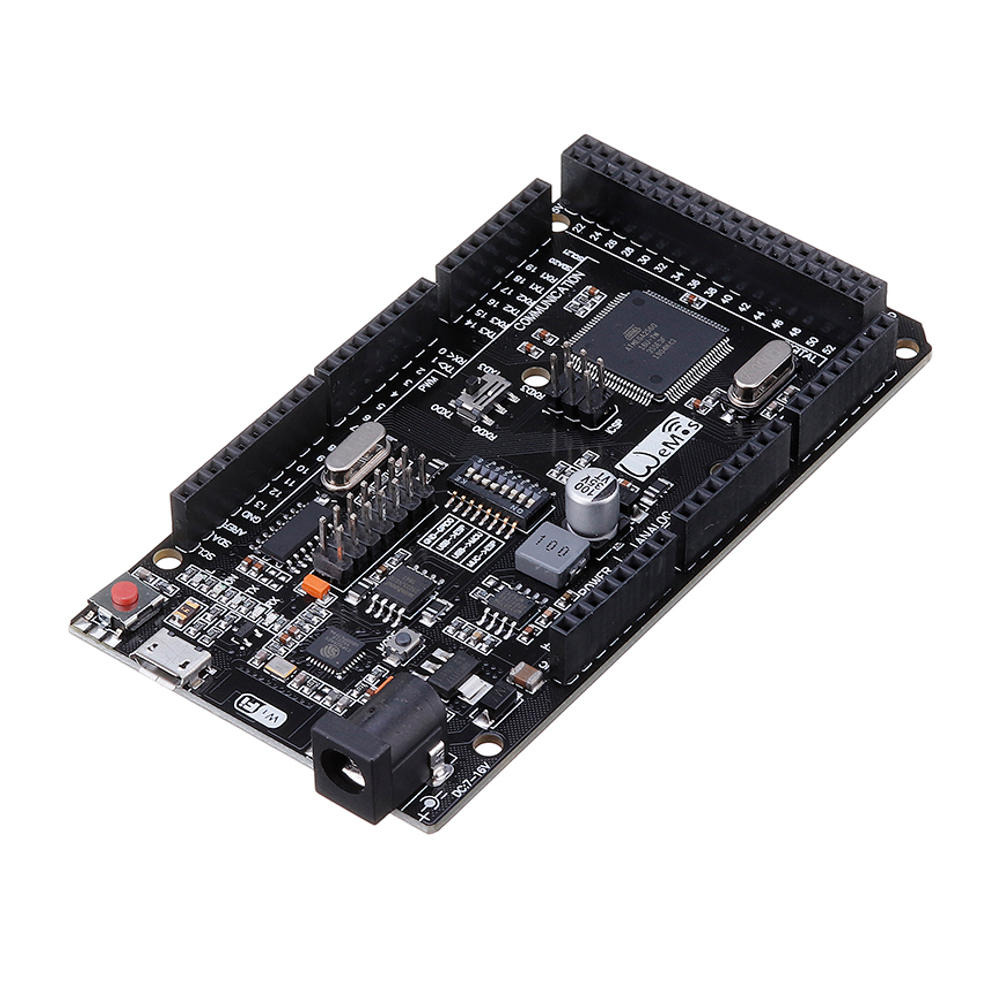
Sir, I Have purchased a UNO+Wifi module from Bangood.com "Geekcreit® UNO+WiFi R3 ATmega328P+ESP8266 32Mb Memory" but i am unable to use it. please if someone has it help me how to use it in it's ESP8266 mode.

2019-10-29 3:56 pm
I don't have one but it looks like a really nice board. I might pick one up myself.
Just by reading the ad it appears to be pretty straight-forward. You need to set the DIP switch according to the table for the different configurations. At least that's how it looks to me.
Set the DIP switch to this position USB <->ATmega328 to upload a sketch to the UNO
Set the DIP switch to this position USB<->ESP8266 (Update firmware or sketch) to upload a sketch to the ESP8266
Set the DIP switch to this position ATmega328<->ESP8266 to allow the UNO to connect to the ESP8266 when you run your program so the UNO can talk to the ESP8266.
Or if you want them to be independent turn all the switches off.
Although, it's unclear to me exactly how the UNO talks with the ESP8266 when the switch is in the ATmega328<->ESP8266 position? I don't see any information on precisely how they communicate with each other. So there does seem to be some required information missing from the ad.
~~~~~
How far have you gotten with it? Can you program the UNO by itself? Can you program the ESP8266 by itself?
Or are you having another problem?
DroneBot Workshop Robotics Engineer
James
2019-10-29 4:04 pm
Hi Gulshan
You could try and follow the manufacturer's instructions, they seem to be fairly thorough. They describe how to set it up in ESP8266 mode.
Welcome to the forum!
? ?
Bill
"Never trust a computer you can’t throw out a window." — Steve Wozniak
Gulshan reacted
2019-10-29 4:16 pm
I also found this YouTube video that appears to have a lot of good information. It's for the Mega, but the same techniques should apply to the UNO.
Underneath the video there are links to a full webpage presentation as well as the code they are using.
DroneBot Workshop Robotics Engineer
James
2019-10-29 4:36 pm
I just ordered two of these.
I couldn't help myself. ?
I've been using Megas with a separate ESP8266 module. This will make it a little neater.
DroneBot Workshop Robotics Engineer
James
Topic starter
2019-10-30 3:45 am
hi, after using it please tell how are you uploading esp8266 codes in it. when i try to do that it processes for some time and then it time out. it shows some sort of header errors.
Topic starter
2019-10-30 4:05 am
I have uploaded program in the uno and it works fine. when I try to upload codes to it in the esp8266 mode first of all it takes too much time and if I keep it that way it give me error of like "Header time out".
2019-10-30 4:28 am
hi, after using it please tell how are you uploading esp8266 codes in it.
I'll let you know how I do it when I get it. I just ordered it today so it might be a while before I get it.
I currently have an Arduino Mega and a separate ESP8266-01 module. I have programs uploaded to both of them. And I have them talking to each other via a serial port connection. This allows me to give commands to the Arduino Mega board via the WiFi on the ESP8266 board.
This new board that combines both of these together on a single board sounds pretty nice. Although I'm not sure how the Arduino communicates with the onboard ESP8266 chip. So I'll have to read up on that part.
In the meantime I have noticed that it seems to take a lot longer to upload programs to the ESP8266 module than it takes to upload programs to Arduino Mega. Not sure why that is.
Anyway I'll let you know how I make out when the boards come in.
DroneBot Workshop Robotics Engineer
James
2019-11-01 6:59 am
I haven't gotten the boards yet, but I've been doing some studying. I found the schematics for both boards.
This is a PDF schematic for the UNO+ESP8266 board
And this is a PDF schematic for the Mega+ESP8266 board.
As far as I can tell from these schematics you will need to use the standard Serial port to communicate between the UNO and the ESP8266 chip. I'm pretty sure this means that you wouldn't be able to use the serial monitor at the same time. In other words, if you have programs in the UNO and ESP8266 that you want to talk to each other you'll need to do that using the standard serial port.
On the Mega+ESP8266 board there is a second switch that allows you to use either the standard serial port, or the Serial3 port on the Mega to communicate with the ESP8266 board. This will allow you to have the serial monitor working at the same time the Mega and ESP8266 are communicating. This is actually the way I have things set up on my original set-up where the Mega and the ESP8266 modules are separate. So my programs might work on this new board without any modifications at all.
By the way, none of what I just said has anything to do with programming either the UNO or the ESP chips. This is just how they can communicate with each other after they have both been programmed. They communicate using the Serial port. And in the case of the Mega you can choose to use between two optional serial ports.
The programming appears to be pretty straight forward. Those just use the standard COM port when plugged into the computer, and the DIP switch needs to be set for whichever device you want to program.
I'll let you know more after I get the boards and see if I can upload my current programs onto them.
DroneBot Workshop Robotics Engineer
James
2019-11-01 7:10 am
By the way, when you program the ESP8266 module you need to press the MODE button. I'm not sure exactly how this works, but if it's anything like a stand-alone ESP8266 module you should only need to press it once just before you program it. It temporarily grounds the reset pin and restarts the chip in program mode.
DroneBot Workshop Robotics Engineer
James
Topic starter
2019-11-01 8:44 am
Actually in my module some times the code gets uploaded without any problem but sometimes i have to press the"MCU reset" button then the code uploads otherwise it won't.
Topic starter
2019-11-01 8:45 am
ESP reboot button doesn't do anything except just linking the esp blue LED sometimes.
2019-11-02 5:38 am
Actually in my module some times the code gets uploaded without any problem but sometimes i have to press the"MCU reset" button then the code uploads otherwise it won't.
I have an idea of what the problem might be that you are having. When programming the ESP8266 chip you need to set the DIP switches to the programming mode before powering up the board. The reason for this is because DIP switch #7 takes the ESP8266 GPIO0 pin to ground. This pin must be grounded before the chip is powered up in order to set the chip into the programming mode. It won't do any good to ground the GPIO pin after the power is already on. That won't put the chip into the programming mode. It has to be grounded before the ESP8266 chip boots up in order to put the chip into the programming mode.
If the chip isn't in the programming mode when you try to program it you'll get the "Header time out" error because it's trying to program the chip but the chip isn't in the programming mode.
So maybe this is part of the problem? Just make sure you always set the DIP switch configurations before you power up the board.
I just got out some of my old ESP8266-01 boards and was programming them tonight. You definitely need to have GPIO0 grounded before applying power to the chip. That's the only way it will go into programming mode.
DroneBot Workshop Robotics Engineer
James
Topic starter
2019-11-02 5:56 am
yes, thank you but i still coudn't figure out how it works in the "ATmega328p-->>Esp8266" mode. I was trying to use the "Remote xy " app to control the arduino using esp8266 chip on board but it is not working.
just as this guy has shown in his project.-->"
"
and this --> "https://youtu.be/ji71cHaGW8w"
Page 1 / 5
Next