Notifications
Clear all

Topic starter
2019-08-05 10:26 pm
Back in the 1990s I did some embedded stuff at a place I worked. It was Z80 mostly but did do a few 8051 projects. The 8051 was a joy to work with and the first microcontroller I had ever worked with. It's been a "few" years since then, and I have moved on to Pic and Atmega based uCs. About a month ago I saw this on Ali window shopping: STC15W401AS so I dropped a couple in my cart and did the deed.
They are of course 8051 clones, 5v GPIO tolerant pins, very low power usage (really low), a running voltage range of 2.4v (more like 2.6v) to 5.5v, 14 GPIO (on the one I have) 1 UART, SPI, 10bit AD, PWM and more. It does not have I2C, but if needed, that's fairly easy to bit-bang.
My main reason was to see if it would fit a low power need I have for a future project I am in the planning stages for. Of course, the other equally important reason was to play!
In preparation for the uC delivery, I made sure the sdcc toolset would support them, and it would. I also noticed Platform.IO has support via sdcc. So with that done, I just needed to make sure I had a programming cable and I did. An FTDI, CH340 or the like will work. No other programmer needed!
So this morning my wait ended and the boards arrived. I could not wait, so at lunch, I hooked one up and created a P.IO project and cobbled some code together from the internet. Found an FTDI serial cable and hooked it up, clicked "build" and then "upload" and boom, it worked. Yet another flashing LED.
Here is the board in action:
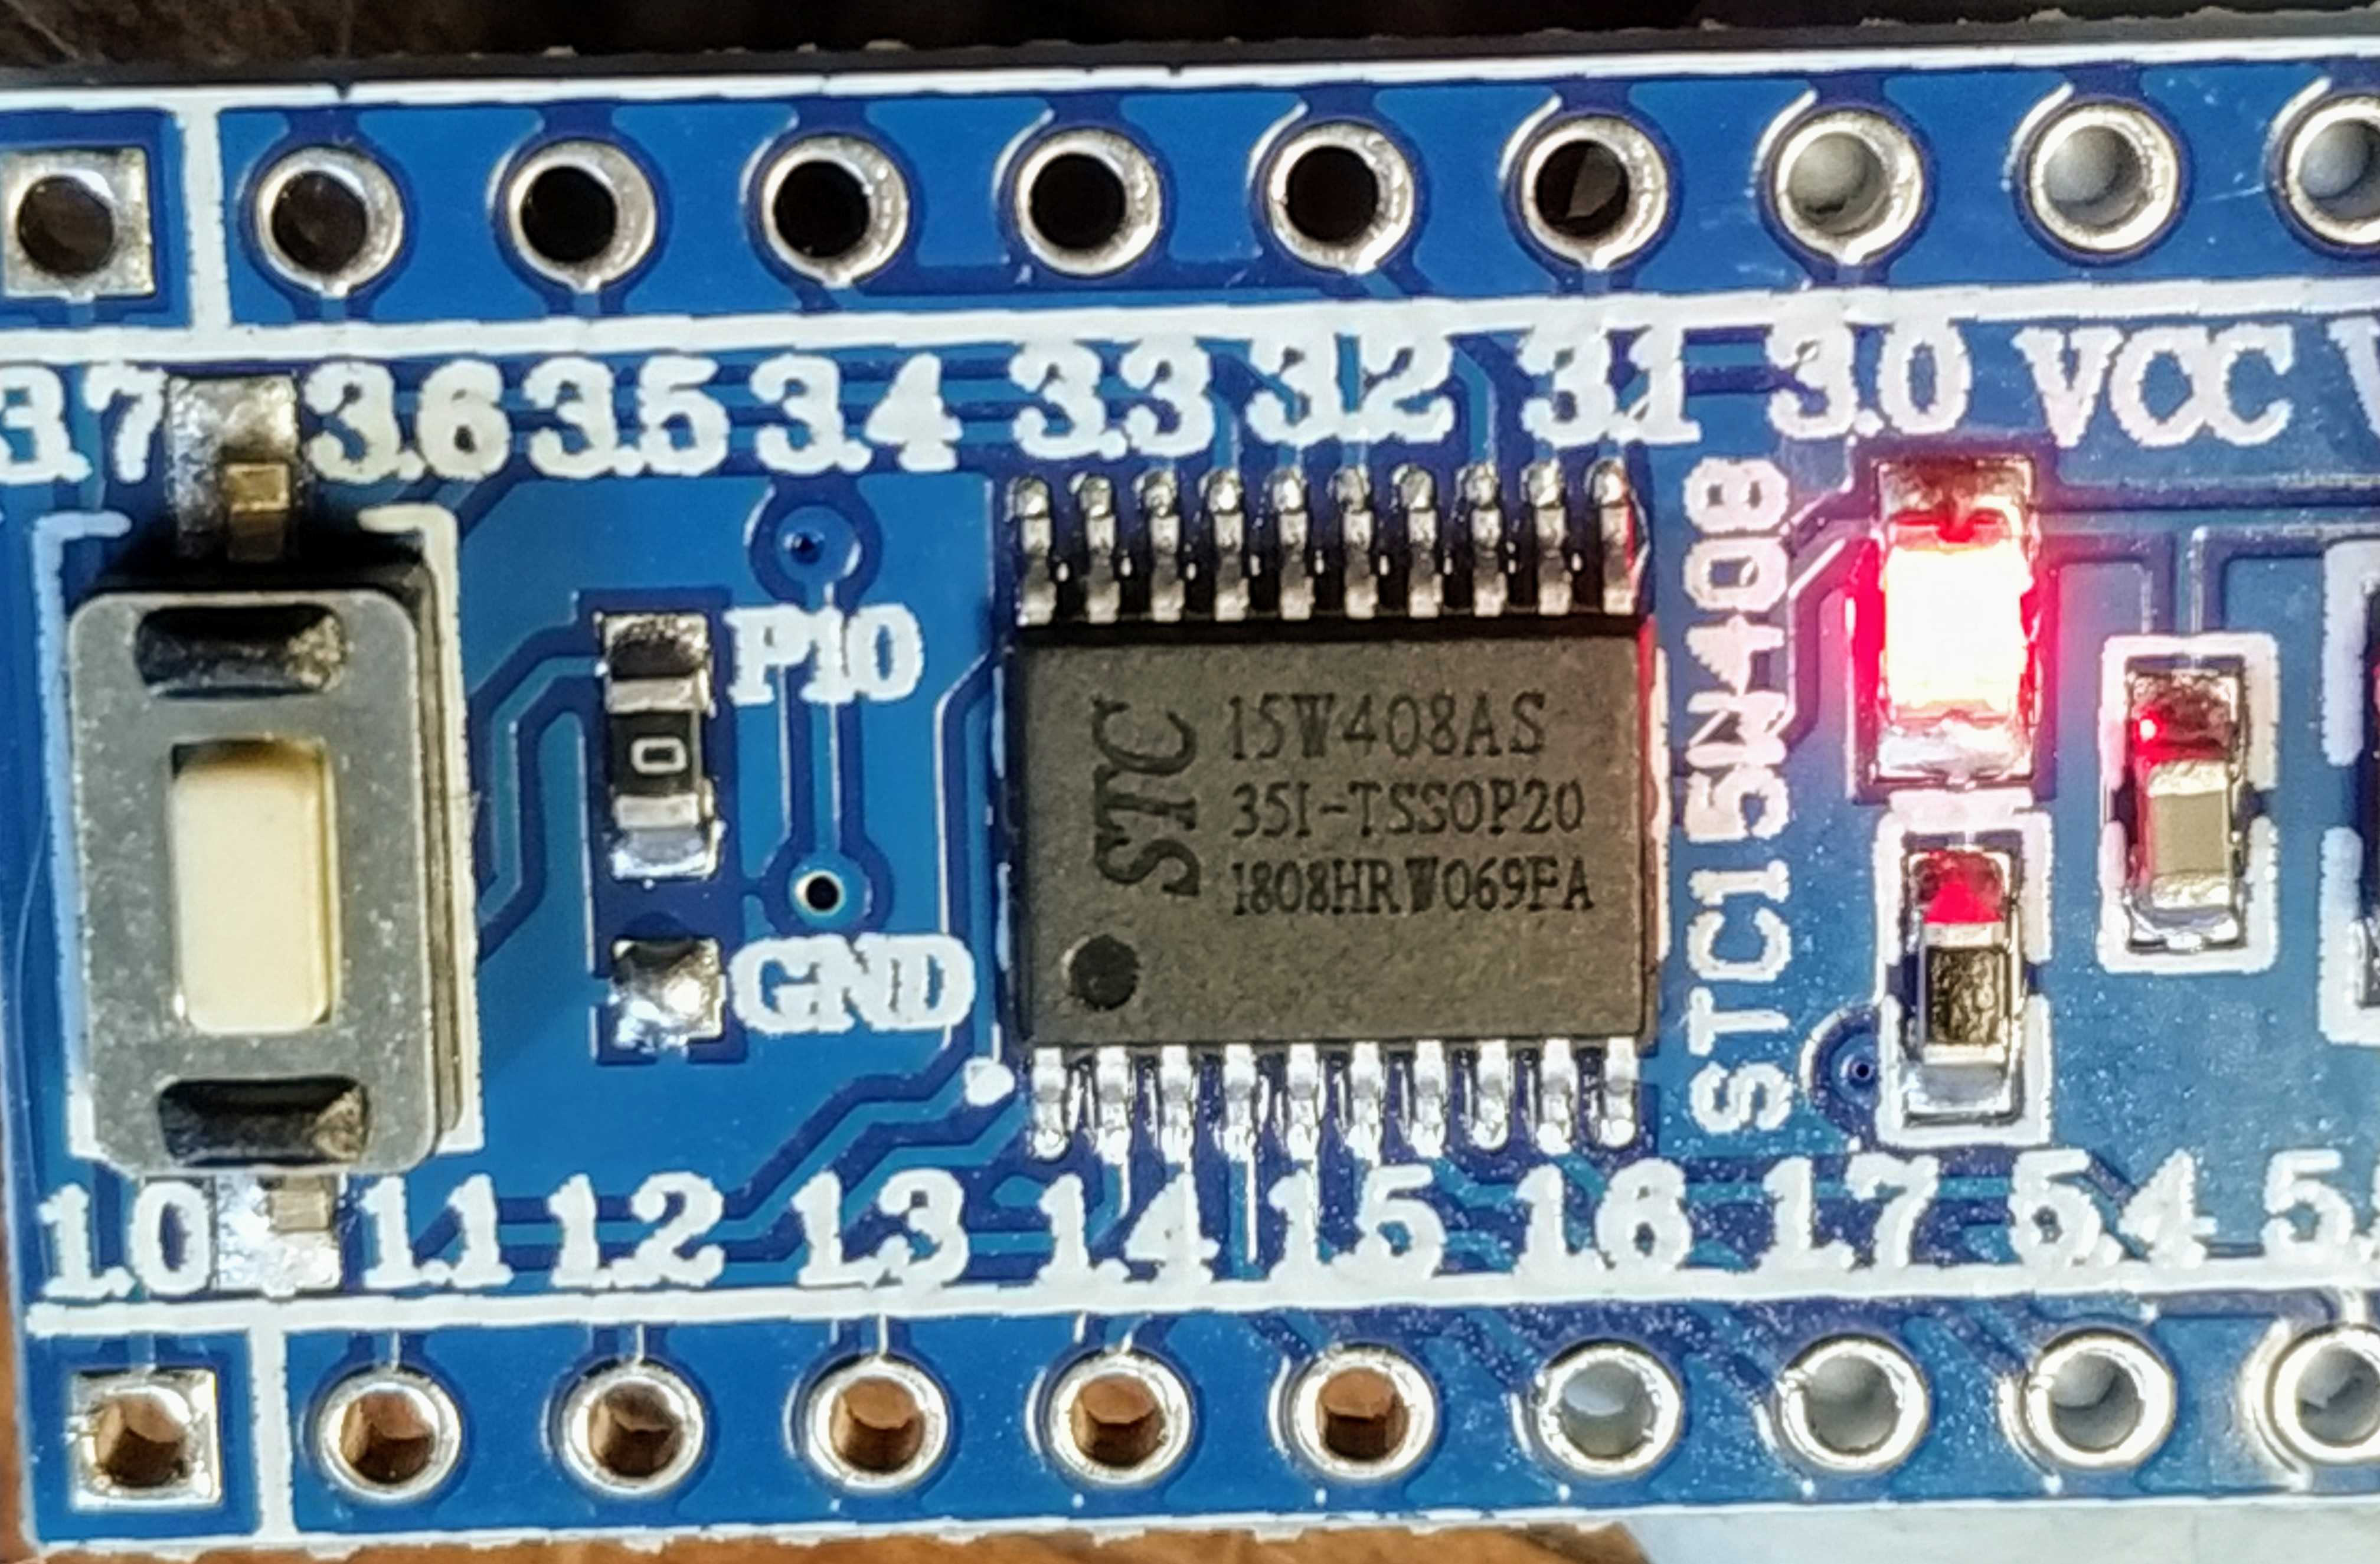
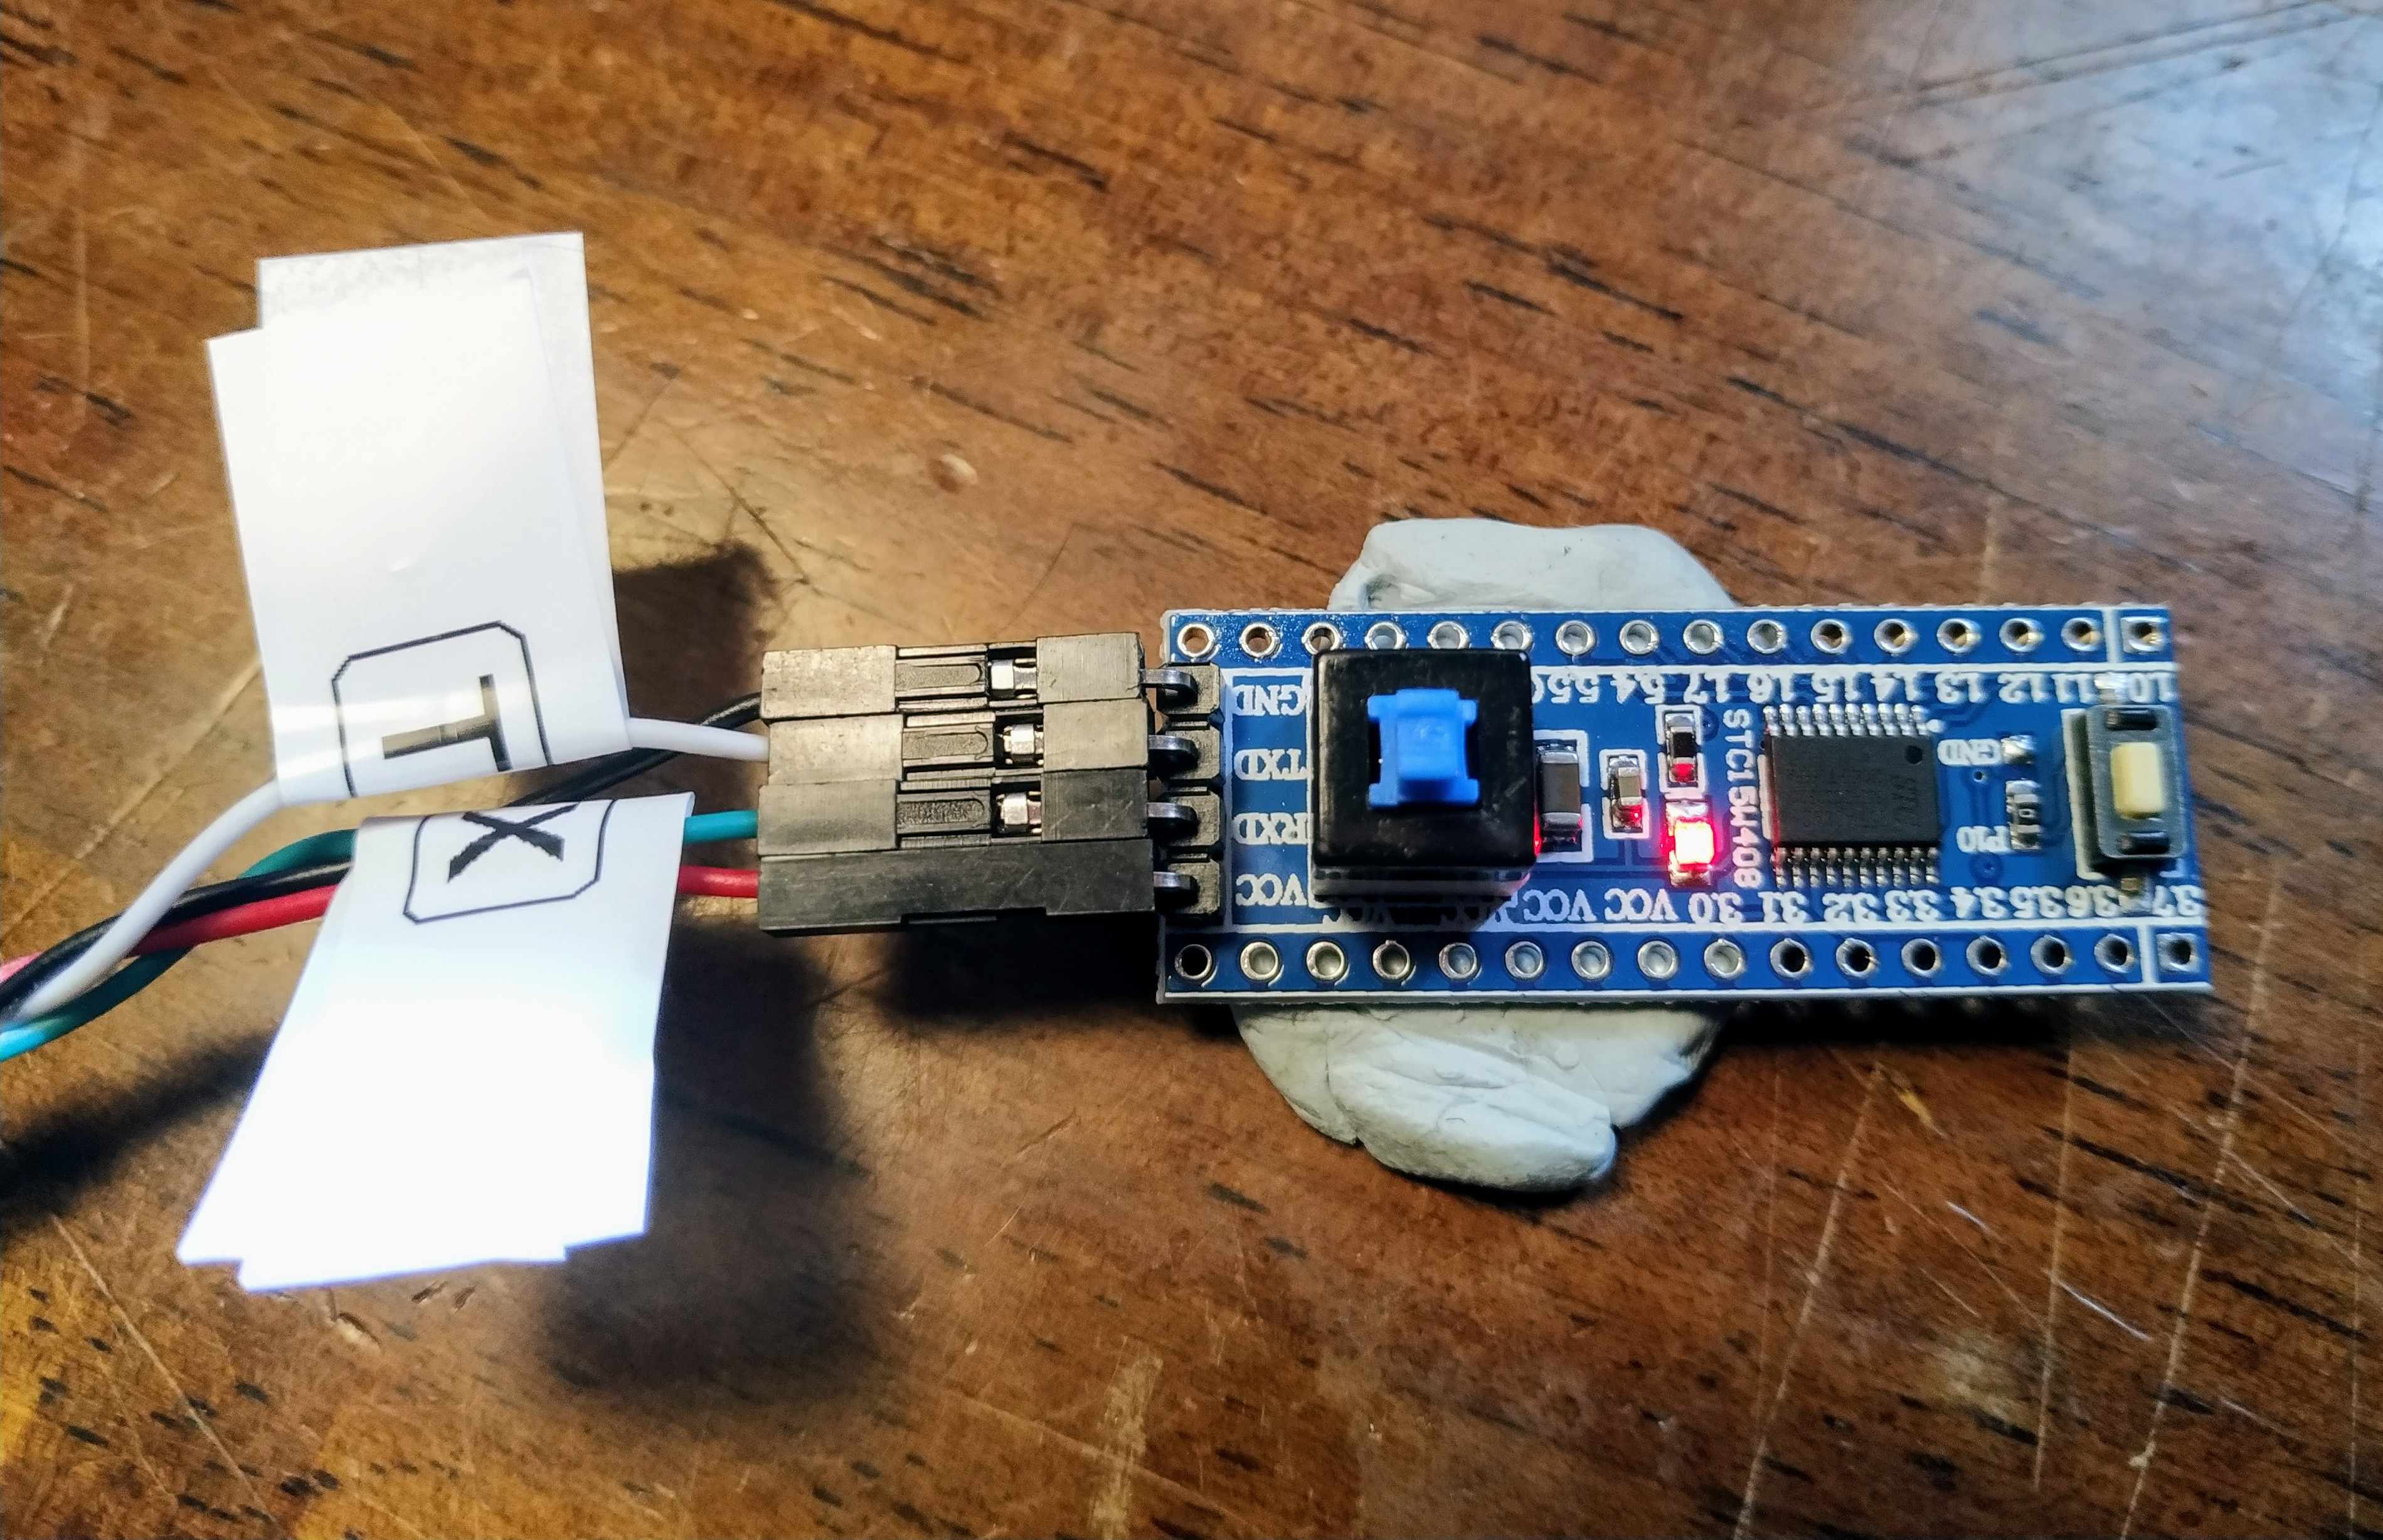
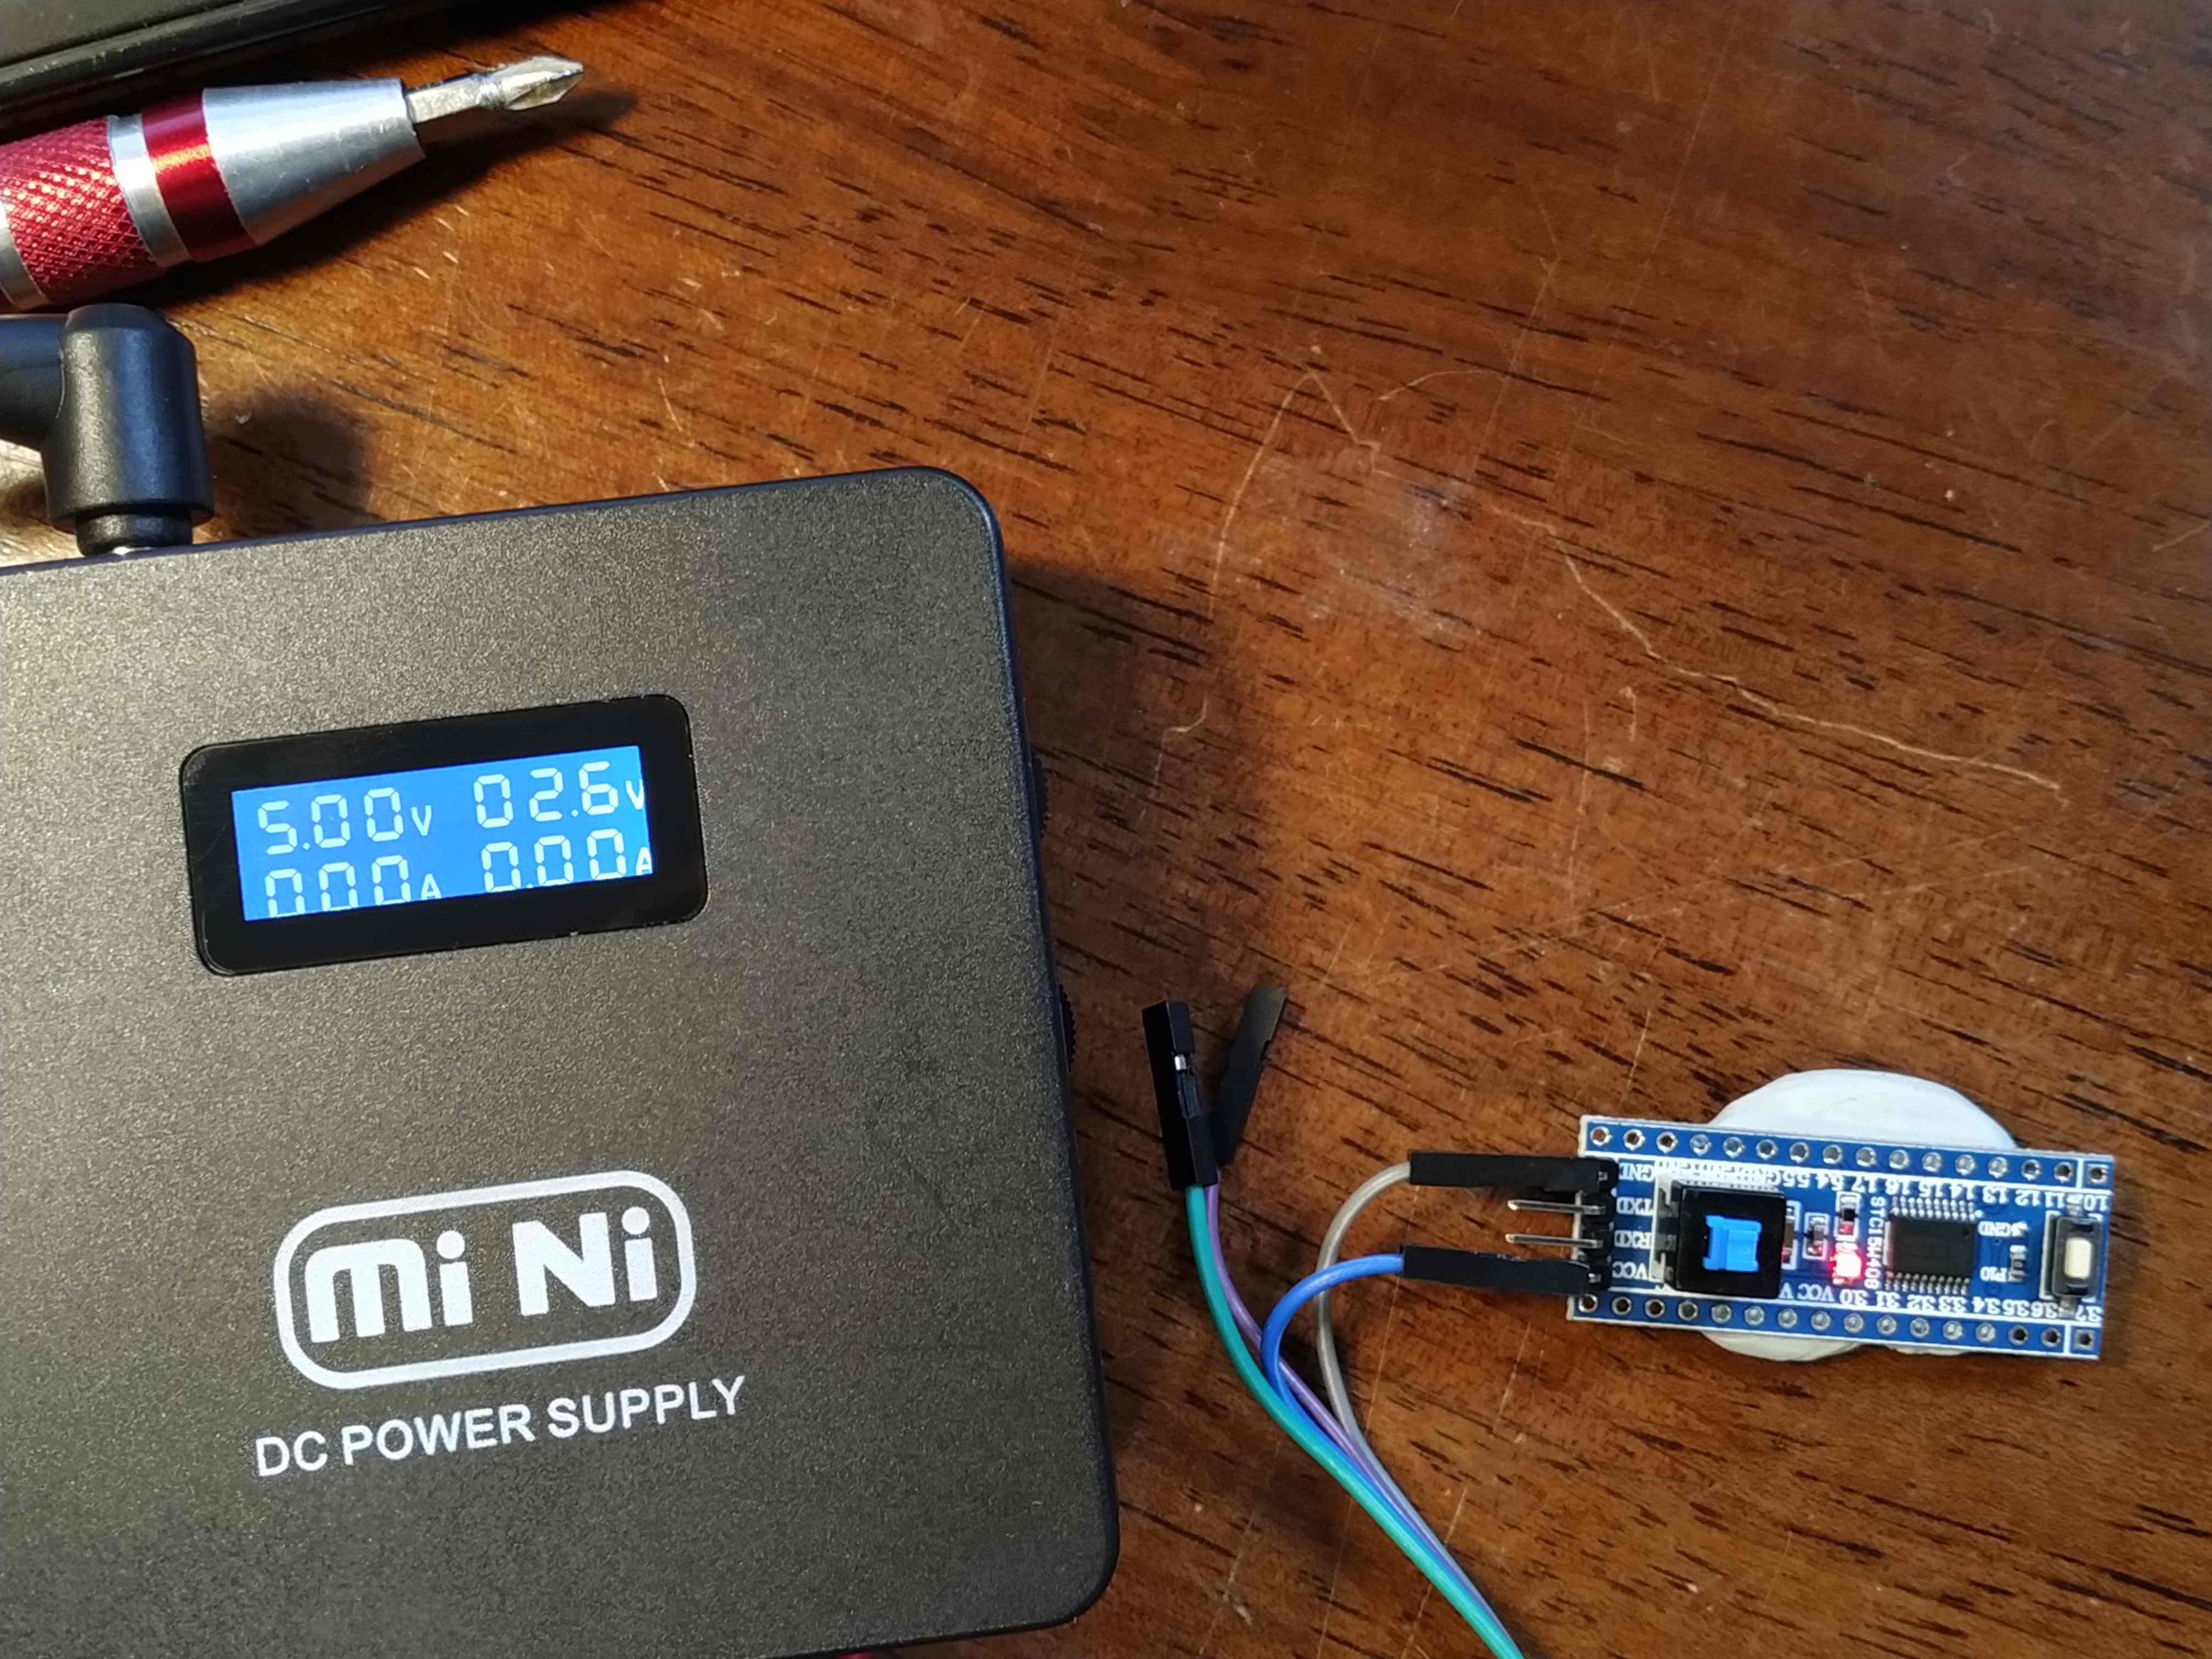
It runs at the same speed at 2.7v or 5v. The power use seems to be @10ma, but will test further on that.
Here are the data highlights and datasheet.
Scott
Topic starter
2019-08-07 3:07 pm
I have a small simple blink program for this controller. I'm building it from Platform.IO using the "platform: intel_mcs51; board: stc15w404as" profile. This uses the sdcc compiler toolset to compile and the stcgal python script to load the hex file to the uC. You will, of course, need an FTDI or other USB to serial cable or device to program it. Remember to reverse the RX and TX lines. RX on cable -> TX on the controller, TX on the cable to RX on the controller.
#include <stc12.h>
#include <stdint.h>
#include <stdio.h>

#define LED P1_0 // LED on Blue board with large switch at front.

// Non timer interrupt based millisec delay based on a 11.075MHz clock.
void delay (int loop_cnt)
{
    int cnt, ocnt;

    for (ocnt = 0; ocnt < 482; ocnt++) {
        for (cnt = 0; cnt < loop_cnt; cnt++) {
        __asm__ ("nop");
        }
    }
}

int main ( )
{
    while (1) {
        LED = 1;
        delay (1000);
        LED = 0;
        delay (1000);
    }
}
Topic starter
2019-08-07 5:07 pm
Another example. This time an interrupt handler. When the button on the board is pressed, the LED is toggled on and off. There is no debounce in this example.
#include <stc12.h>
#include <stdint.h>
#include <stdio.h>

// Simple interrupt sample.

#define BUTTON P3_2 // Button on P3_2 for the Blue board with large switch at front. INT0
#define LED P1_0 // LED on Blue board with large switch at front.

void exint0 () __interrupt 0 //INT0
{
    LED = !LED; // Toggle LED
}

int main ( )
{
    INT0 = 1;
    IT0 = 1; // Set to falling edge only
    EX0 = 1; //enable INT0 interrupt
    EA = 1;
    LED = 1; // Start with LED off

    while (1) {
        WDT_CONTR |= 1 << 4; // Clear the watch dog timer.
    }
}
Topic starter
2019-08-07 6:49 pm
Topic starter
2019-08-09 1:37 am
An update on these boards. I do like the processor a lot. It's easy to use and has a lot of good functions built it, has a decent toolset and easy to program. I'm not a big fan of the board that this manufacturer made for it. The pads are SO small! It's was a pain to solder and a pain to keep pins in after they are soldered! The chips are listed on Ali and other places for just a few dollars for 5-10. I will make a board and use it for my work.
I have started a motor controller and have it running the BTS7960 motor driver. I'm running it from 16khz to 20khz and it's really quite and not heat at all. Impressive so far for a 4$+ h-bridge.

2019-08-09 3:10 am
Is this related to the old Intel 8051 Microcontroller? I have three of these old NMIY-0031 development boards I bought years ago from New Micros. I'm sure these are quite outdated being older chips and boards. In fact, I was trying to find information on these particular boards a while back and couldn't find anything so I figure they are pretty obsolete.

DroneBot Workshop Robotics Engineer
James
Topic starter
2019-08-09 4:01 am
They are newer 8051 core-based microcontrollers. Faster, with builtin clocks, ISP, and better timers.
Scott
Topic starter
2019-08-10 4:53 pm
Well, I ordered some STC15W408AS IC's yesterday and this morning sat down and laid out a PCB. I will mull over it a few weeks before sending to the PCB house.
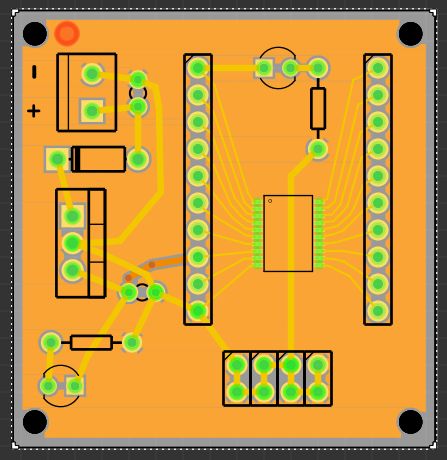
I'm still not grown up yet and will only use the uC in surface mount form 😉 I really have a lot of support TH components and am not in a rush to order and store SM versions as of yet. The ICs aren't too awful to work with, so I will go with them as they are easier to get now.
Scott